OpenCV 於 Windows 開發環境設定

OpenCV 於 Windows 開發環境設定

OpenCV 自 3.0 後的版本已停止支援 32bit 環境開發,因此本篇文章將針對 OpenCV 4.1, Windows 10, 64bit, Visual Studio 2019 開發環境建置做說明。

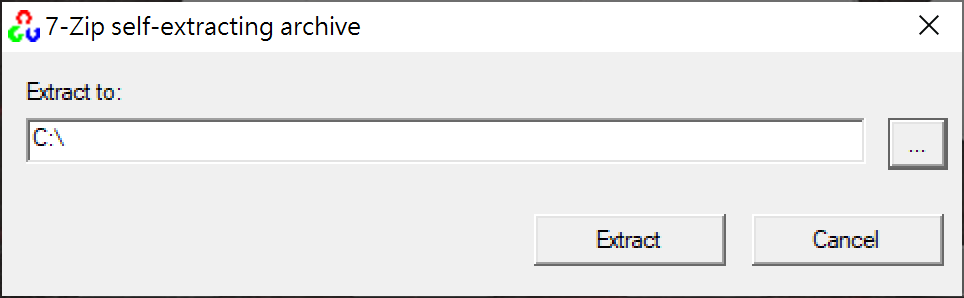
請將下載的 OpenCV 檔案直接解壓縮安裝至 C 槽根目錄,其展開的目錄樹狀圖如下。

1
2
3
4
5
6
7
8
9
10
11
12
13
14
15
16
17
18
19
20
21
22
23
24
25
opencV
├─build
│ ├─bin
│ ├─etc
│ ├─include
│ ├─java
│ ├─python
│ └─x64
│ ├─vc14
│ │ ├─bin
│ │ └─lib
│ └─vc15
│ ├─bin
│ └─lib
└─sources
├─3rdparty
├─apps
├─cmake
├─data
├─doc
├─include
│ └─opencv2
├─modules
├─platforms
└─samples

C:\opencv\build\x64\vc15\bin 是設置 VS 的環境變數

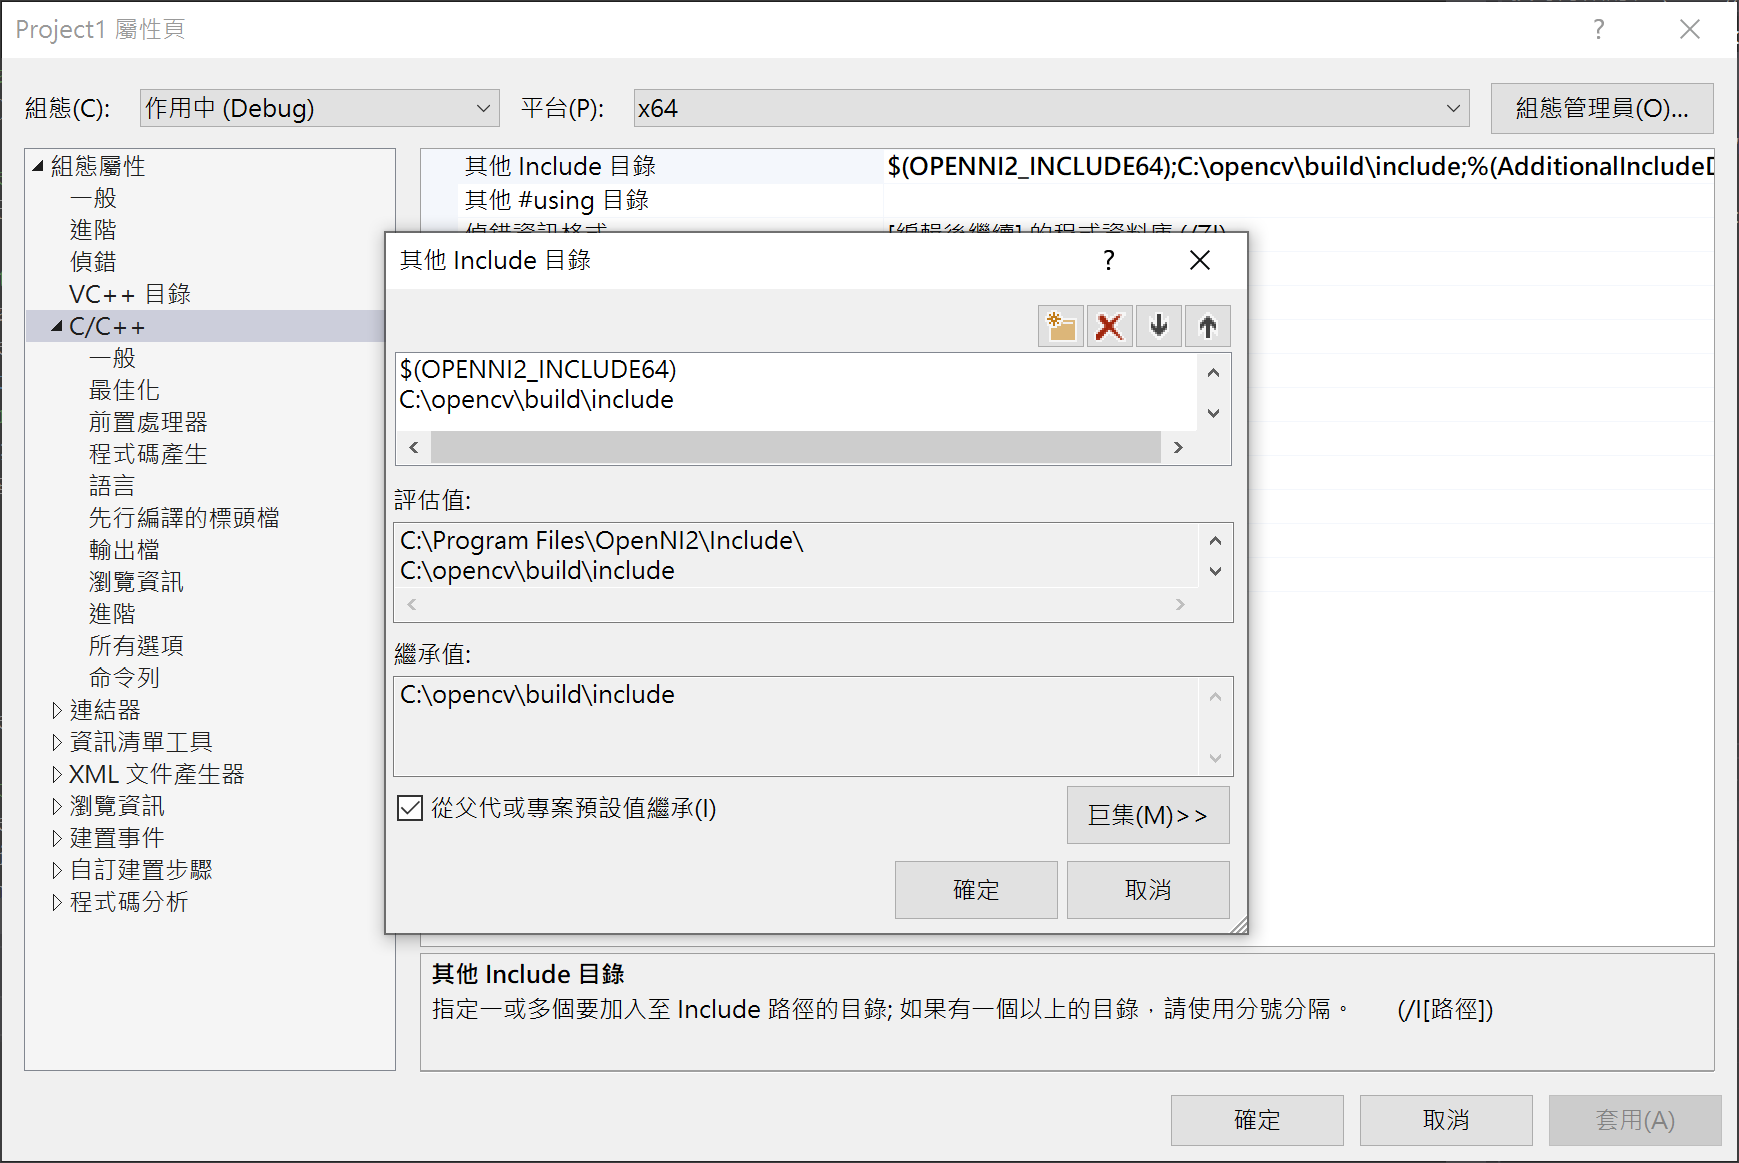
C:\opencv\build\include 爲 C++ 引入標頭檔

C:\opencv\build\x64\vc15\lib 爲 VS 引入 lib 檔

後續如果有新的升級版,vc 有可能會變成 vc16

Windows 10 部屬 OpenCV

在這裡是設置 Windows 的環境變數,只需要設置一次即可。

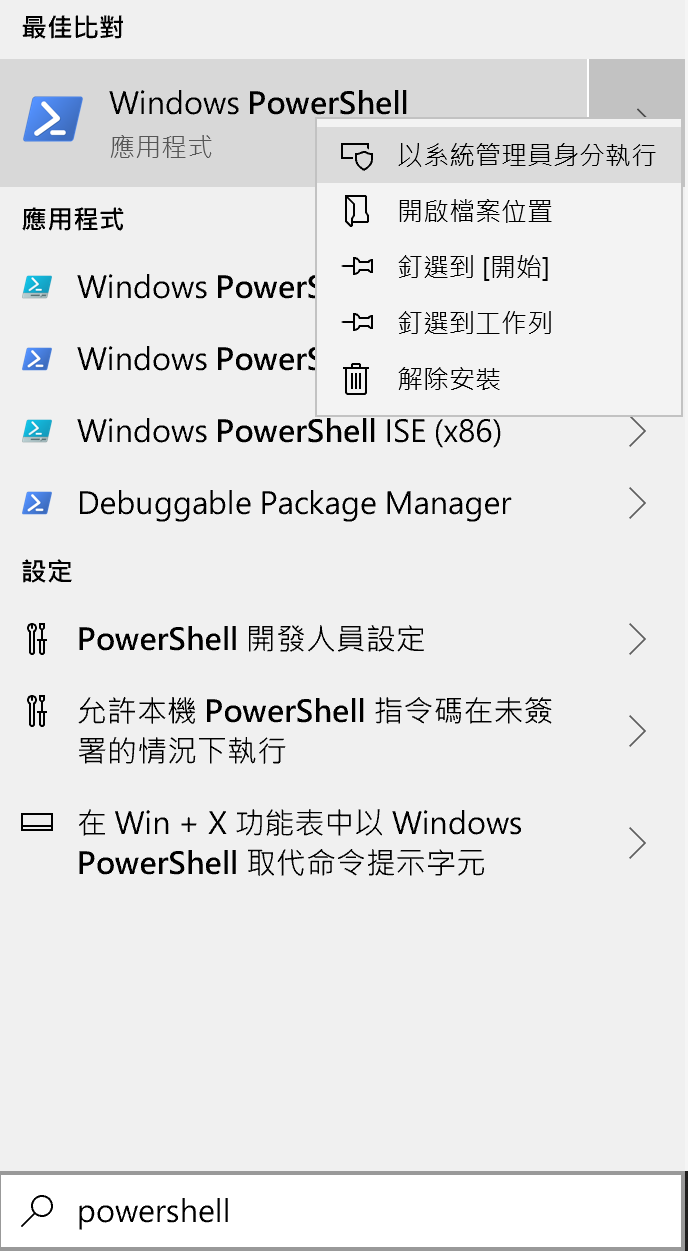
以系統管理員身份打開 Windows PowerShell

輸入以下指令

1
[System.Environment]::SetEnvironmentVariable("PATH", $Env:Path + ";C:\opencv\build\x64\vc15\bin", "Machine")

輸入後不會顯示任何的執行提示

後續我們可以輸入以下指令確認執行結果

1
[environment]::GetEnvironmentVariable("PATH", "Machine")

後續如果有顯示這個路徑 C:\opencv\build\x64\vc15\bin,代表 OpenCV 部署完成

設置完成後,最好將系統重新開機以避免其它問題產生。

Visual Studio 2019 部屬 OpenCV

以下開始設置 Visual Studio 2019 (後面簡稱爲 VS),請特別注意設置的 OpenCV 的版本,本次設置的版本爲 OpenCV 4.1。

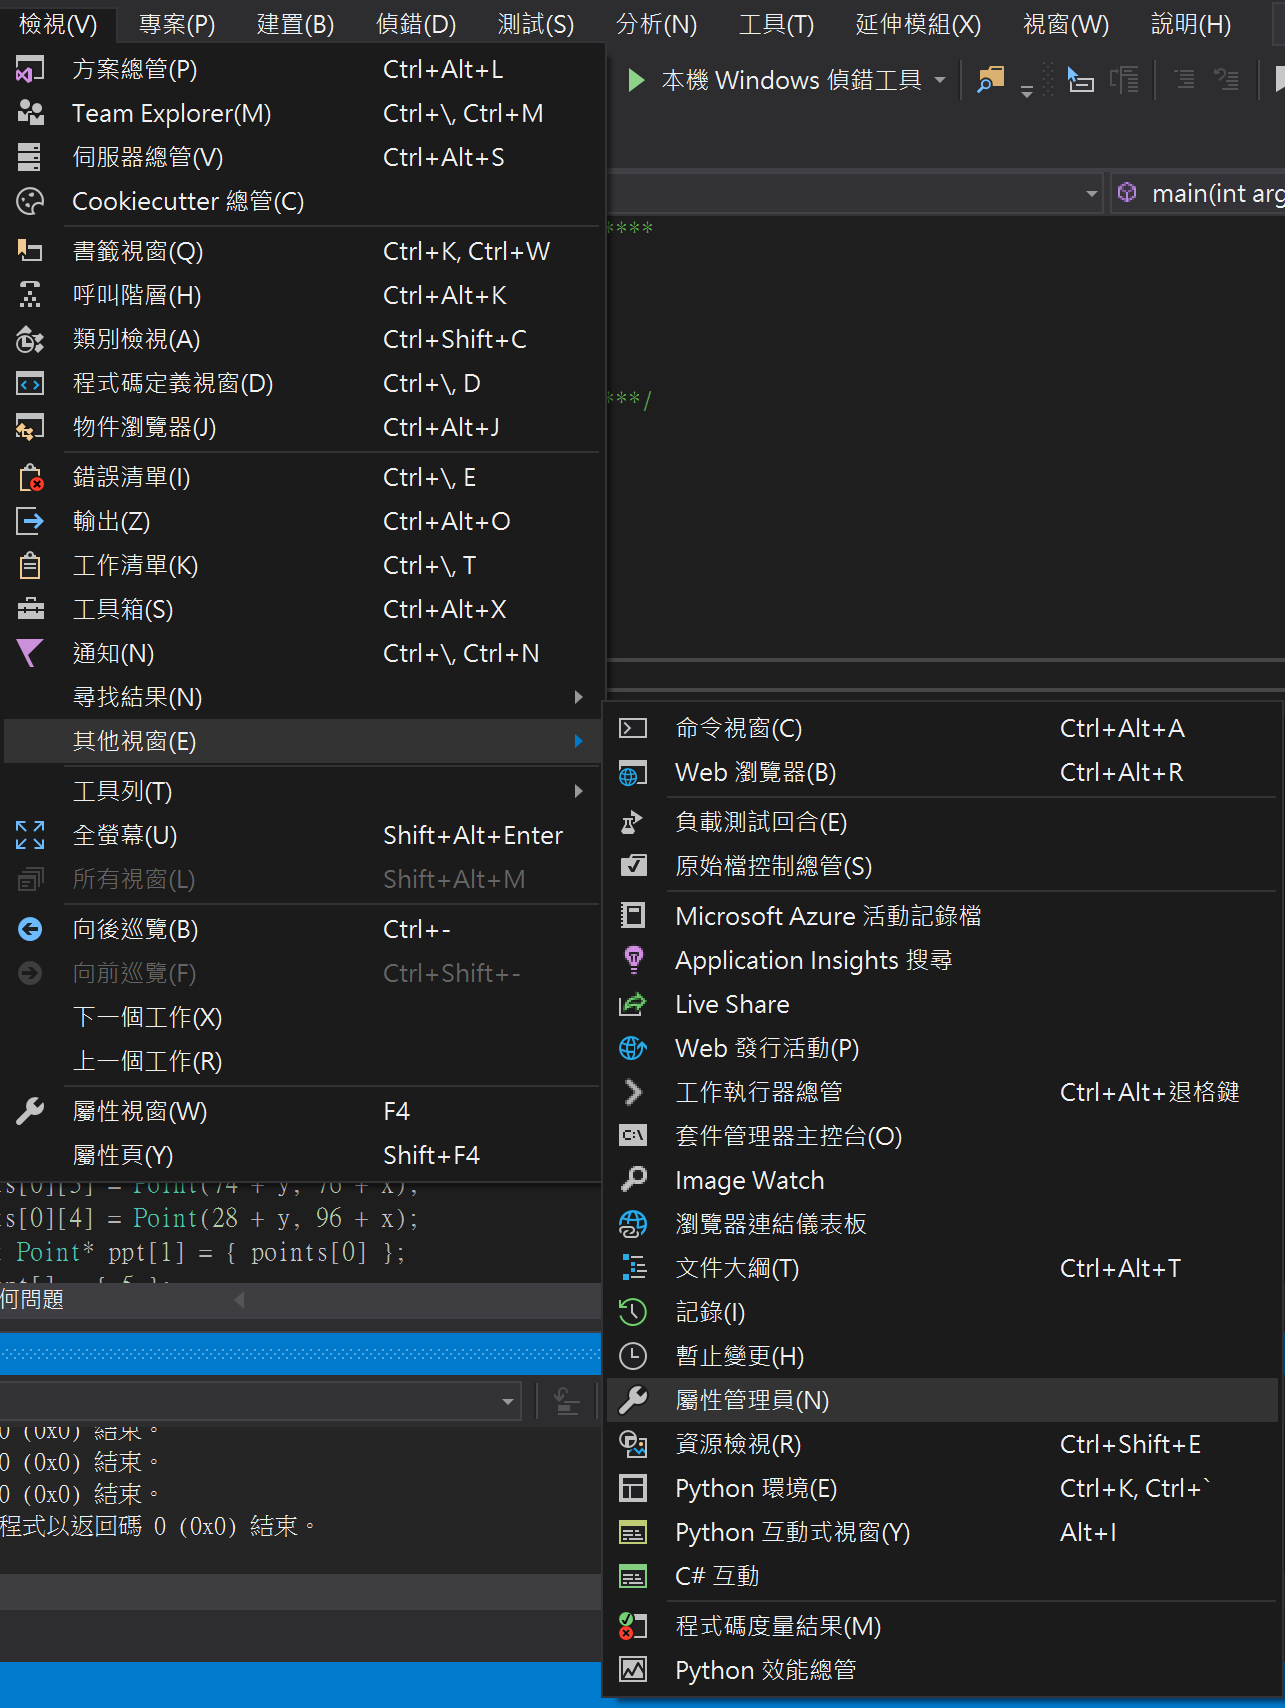
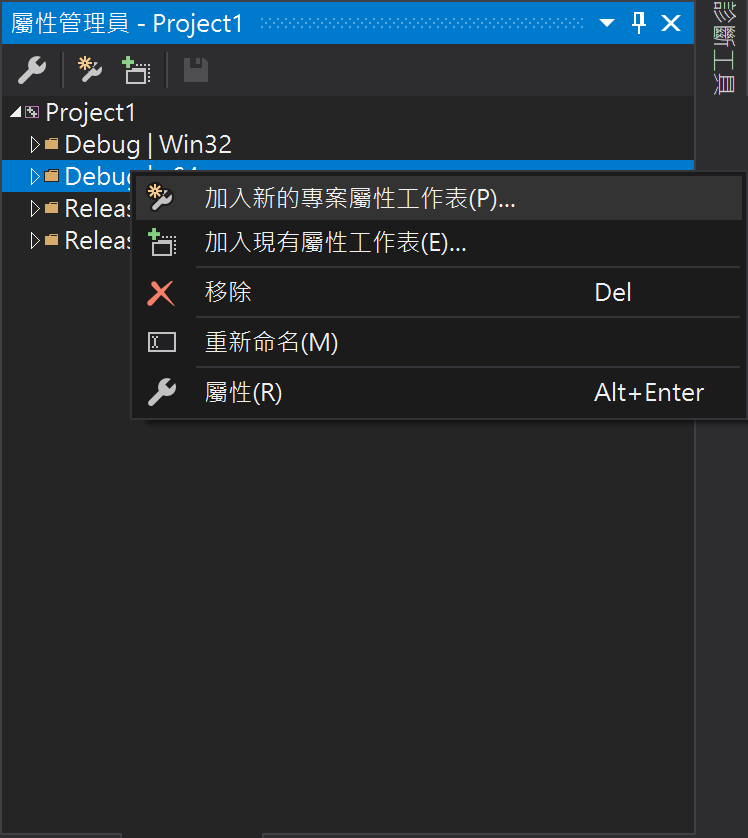
打開 VS 並設置新的專案(也可沿用之前幫 OpenNI 設置的版本),進入檢視呼叫『出屬性管理員』。

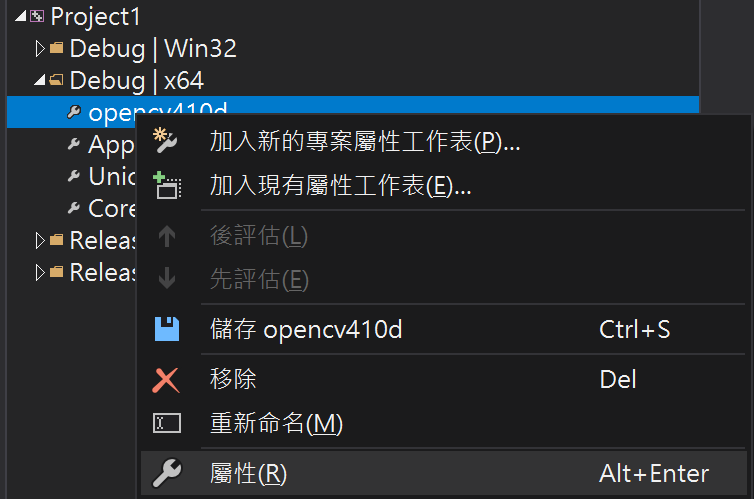
後續針對 Debug | x64 以及 Releas | x64 配置屬性環境,點選右鍵加入新的專案屬性工作表

(Win32 不進行配置,是因爲 OpenCV 已不支援 32bit)
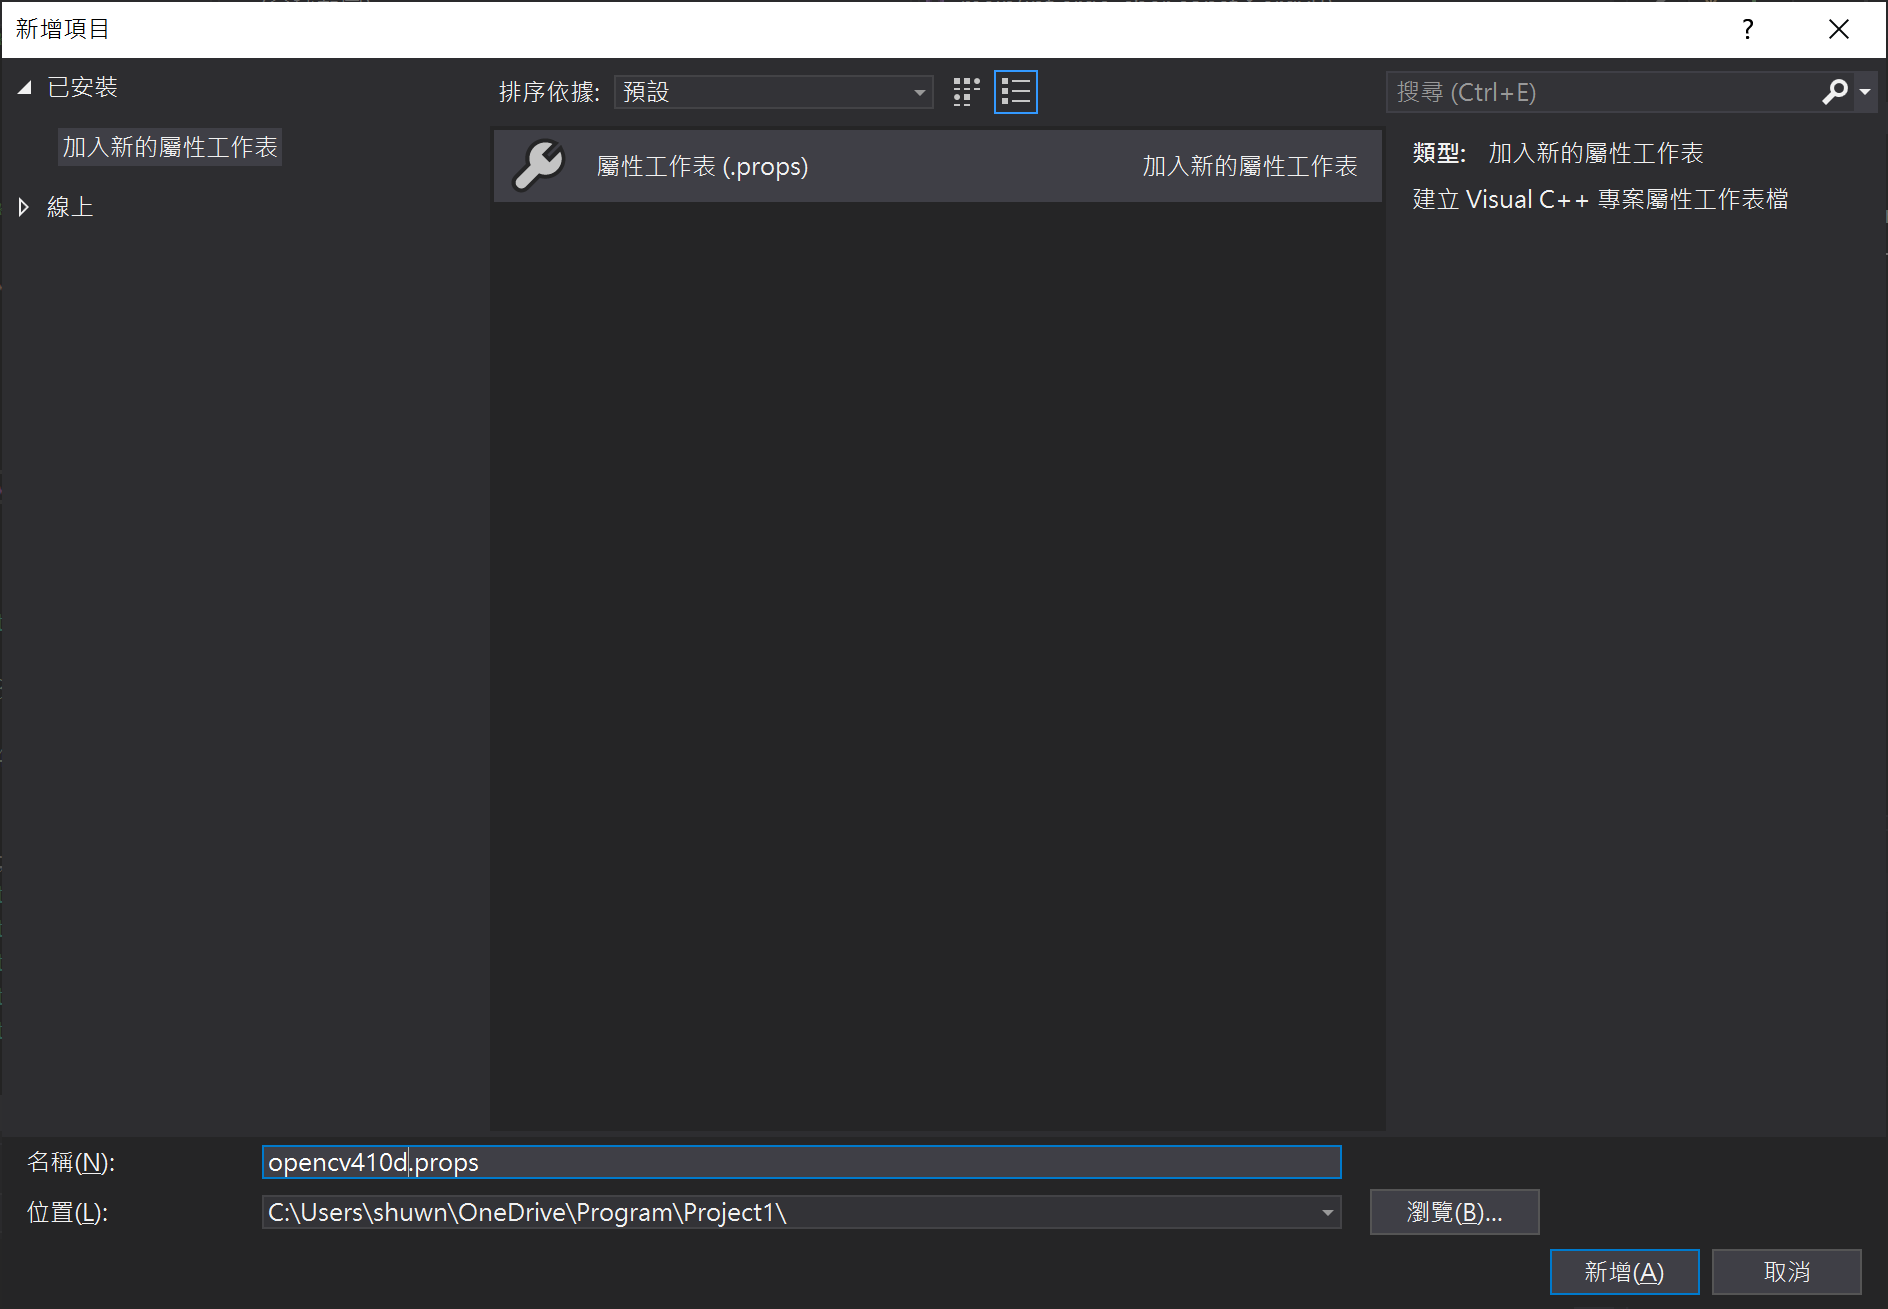
其檔名可分別命名如下
Debug | x64 -> opencv410d
Releas | x64 -> opencv410

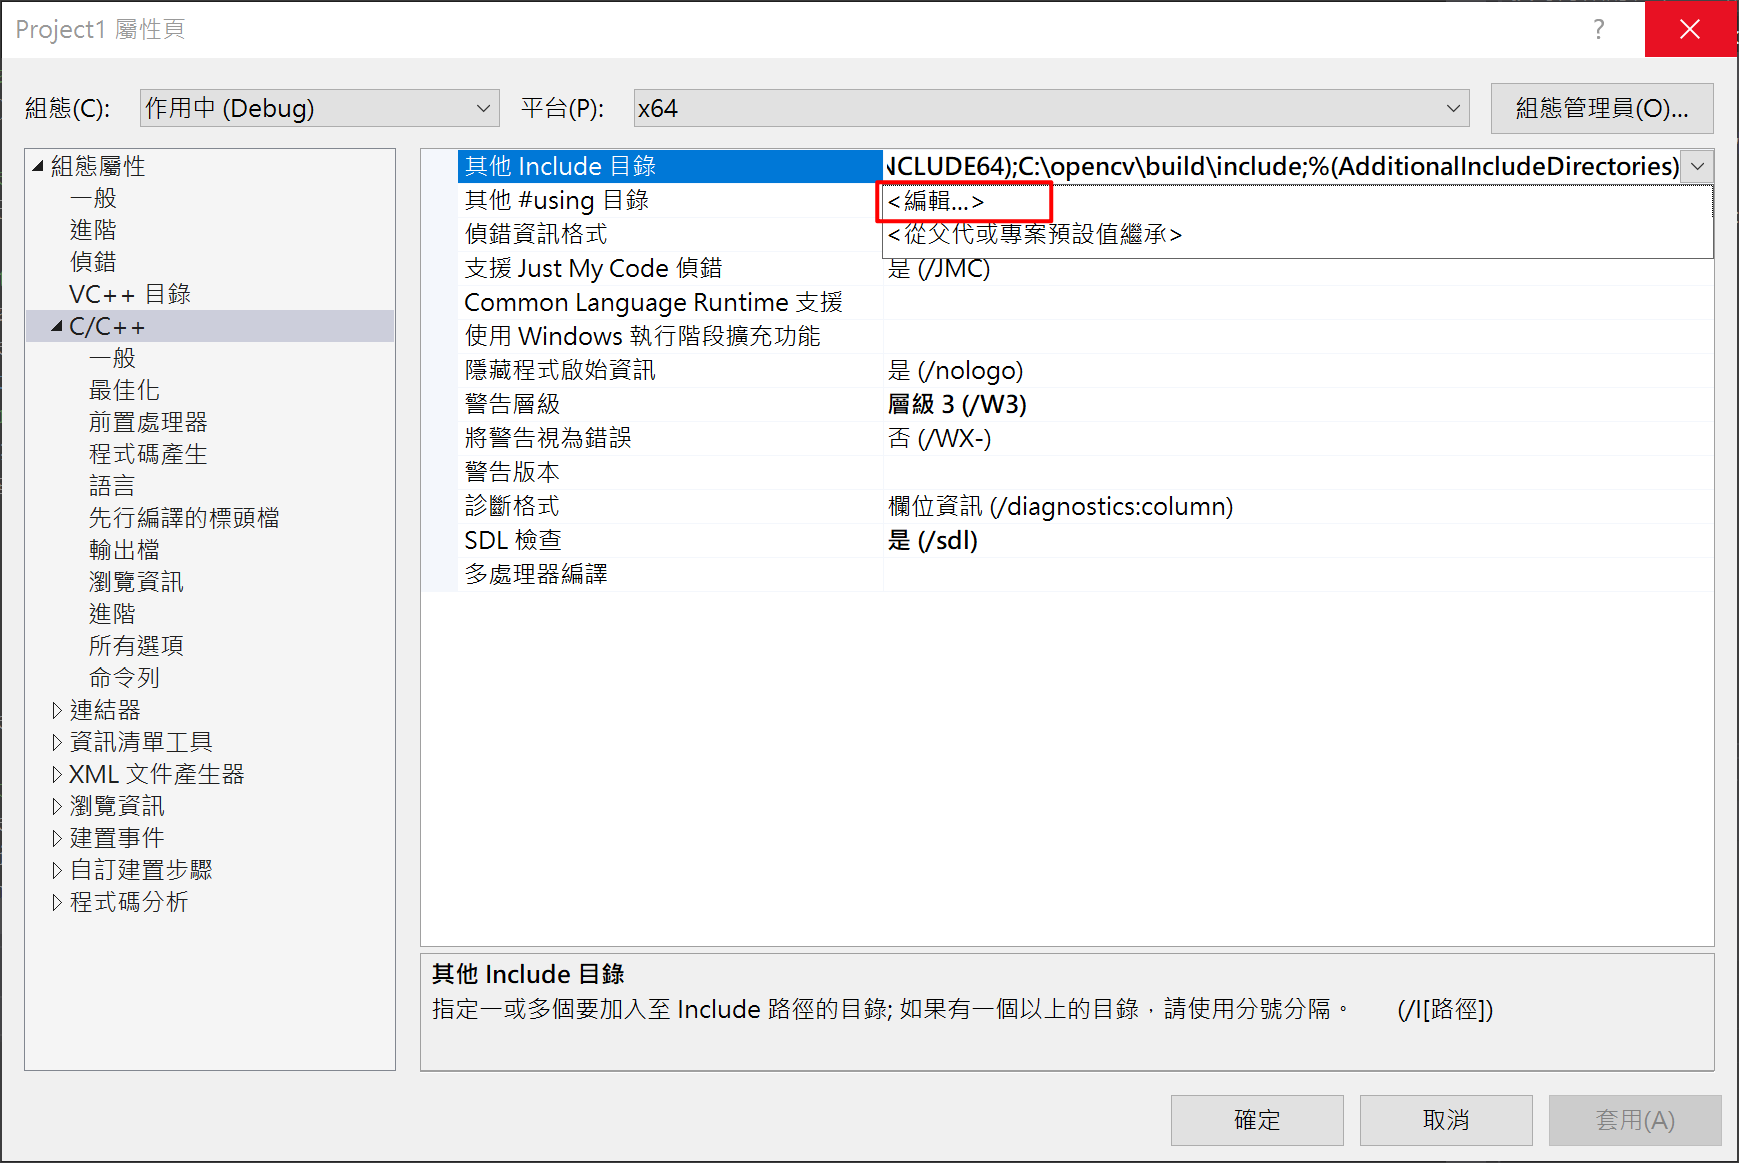
設置完成後進行屬性設置,其設置方法與 Xtion 2 開發環境設定方式雷同

特別注意,在輸入標籤下的其他相依性,OPenCV 的 Debug 與 Releas 動態檔名設置是不一樣的
在 Debug 中爲 opencv_world410d.lib,在 Releas 中爲 opencv_world410.lib

1
2
3
4
5
6
7
8
9
10
11
12
// Debug | x32
通用屬性
| C/C++
| | 一般
| | 其他 Include 目錄 -> C:\opencv\build\include
|
| 連結器
| 一般
| | 其他程式庫目錄 -> C:\opencv\build\x64\vc15\lib
|
| 輸入
| 其他相依性 -> opencv_world410d.lib;%(AdditionalDependencies)
1
2
3
4
5
6
7
8
9
10
11
12
// Releas | x64
組態屬性
| C/C++
| | 一般
| | 其他 Include 目錄 -> C:\opencv\build\include
|
| 連結器
| 一般
| | 其他程式庫目錄 -> C:\opencv\build\x64\vc15\lib
|
| 輸入
| 其他相依性 -> opencv_world410.lib;%(AdditionalDependencies)

以上即完成 VS 2019 的設置。屬性

OpenCV & OpenNi 的屬性設置

如果想要讓 OpenCV 搭配 OpenNI 進行開發的話,在設置屬性時需用編輯方式,將兩個 Include 同時導入,其配置屬性內容與上述章節相同。

驗證屬性設置

在方案總管中加入新增項目,添加以下內容

1
2
3
4
5
6
7
8
9
10
11
12
13
14
15
16
17
18
19
20
21
22
23
24
25
26
27
28
29
30
31
32
33
34
35
36
37
38
/**********************************************************
Visual Studio 2019 OpenCV TEST
**********************************************************/
#include <iostream>
#include <opencv2/opencv.hpp>

using namespace cv;

int main(int argc, char const* argv[]) {
/* 畫布 */
Mat img(270, 720, CV_8UC3, Scalar(56, 50, 38));
/* 直線 */
line(img, Point(20, 40), Point(120, 140), Scalar(255, 0, 0), 3);
/* 實心方塊 */
rectangle(img, Point(150, 40), Point(250, 140), Scalar(0, 0, 255), -1);
/* 實心圓 */
circle(img, Point(330, 90), 50, Scalar(0, 255, 0), -1);
/* 空心橢圓 */
ellipse(img, Point(460, 90), Size(60, 40), 45, 0, 360, Scalar(255, 255, 0), 2);
/* 不規則圖形 */
Point points[1][5];
int x = 40, y = 540;
points[0][0] = Point(0 + y, 50 + x);
points[0][1] = Point(40 + y, 0 + x);
points[0][2] = Point(110 + y, 35 + x);
points[0][3] = Point(74 + y, 76 + x);
points[0][4] = Point(28 + y, 96 + x);
const Point* ppt[1] = { points[0] };
int npt[] = { 5 };
polylines(img, ppt, npt, 1, 1, Scalar(0, 255, 255), 3);
/* 繪出文字 */
putText(img, "Test Passed !!", Point(10, 230), 0, 3, Scalar(255, 170, 130), 3);
/* 開啟畫布 */
namedWindow("OpenCV Test By:Charlotte.HonG", WINDOW_AUTOSIZE);
imshow("OpenCV Test By:Charlotte.HonG", img);
waitKey(0);
return 0;
}

並確認是否選擇正確的執行模式
Debug | x64
Releas | x64

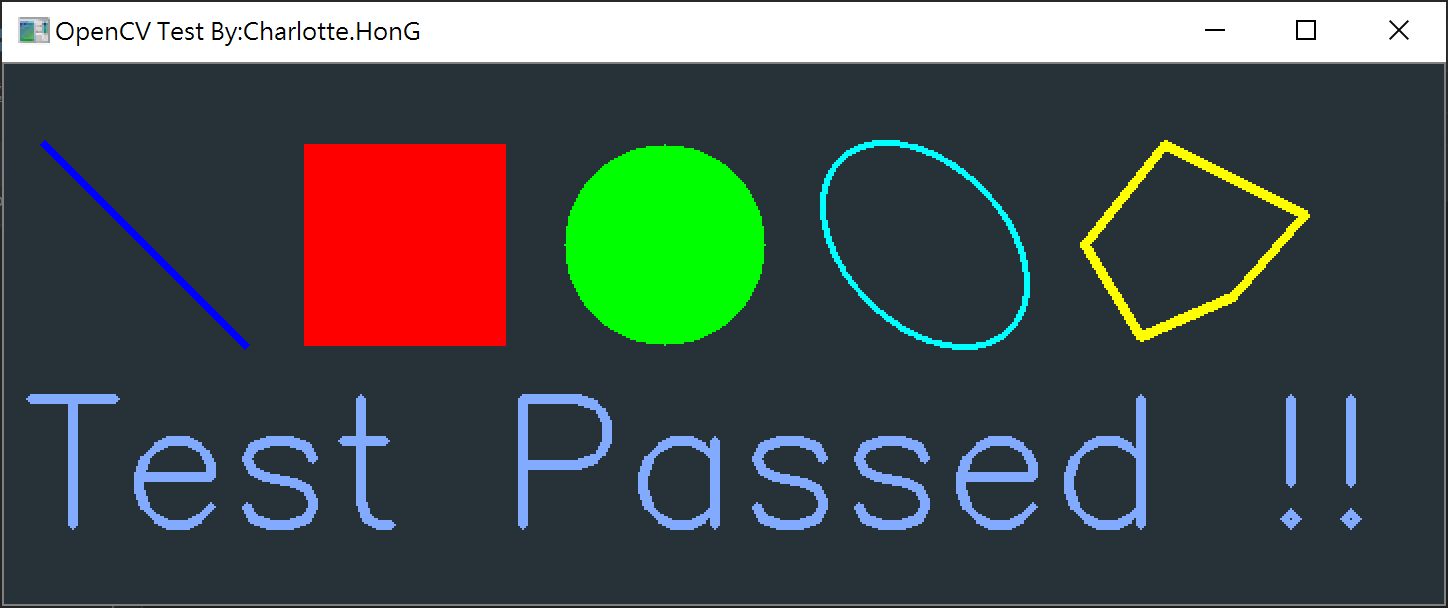
如果能分別順利跑出下列這個圖,代表 OpenCv 環境設置正確。