It’s the Invisible Errors That Matter Most—That Critical 0.1mm
The 0.1mm Errors That Once Made Me Question Everything
Anyone who’s spent enough time in the world of 3D printing knows that calibration is far more important than it seems. Back in the early days of DIY printers, things like screw backlash, motor tolerances, belt tension, warped print beds, material flow compensation, and extrusion delay—each and every detail could turn into a trap.
During that time, it felt less like I was playing with a 3D printer and more like the 3D printer was playing me. (Laughs)
It wasn’t until Bambu Lab released the X1C that I truly felt like I had a machine that could “think for itself.” Automated bed leveling, K-factor tuning, optical compensation mechanisms—these features solved at least 80% of my printing stability and dimensional accuracy issues. I went from someone constantly stressed out with calipers in hand to someone finally free to focus on design and creativity.

Download the cartoon pointer stick model
But in the remaining 20%, one issue remained difficult to ignore—X-Y dimensional deviation.
This becomes especially critical when you’re printing models that require precise alignment, press-fit assembly, or even inter-machine compatibility. That “just not quite right” sizing problem still tends to creep up.
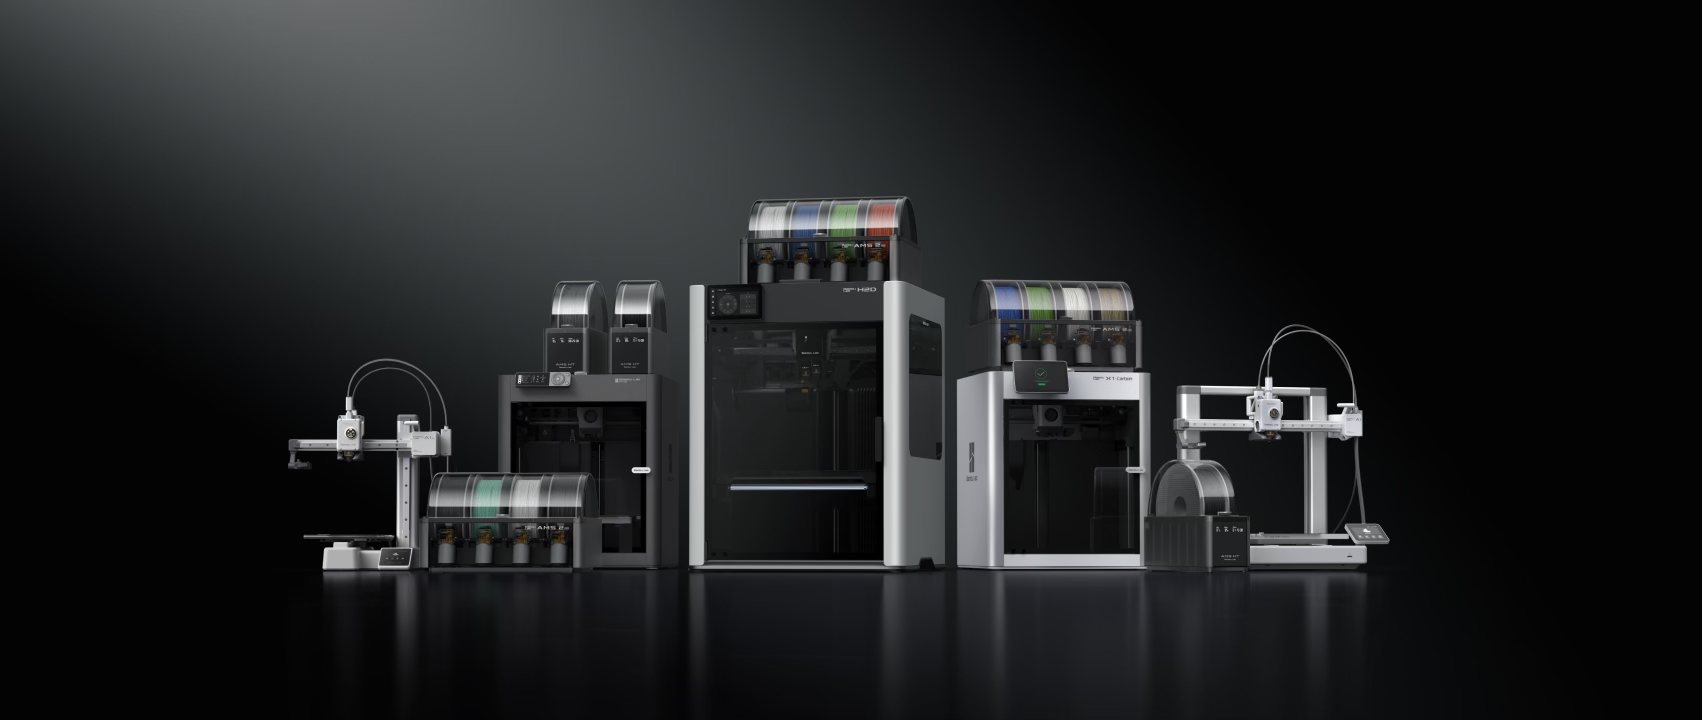
In this article, I want to dive into how Bambu Lab evolved from manual compensation in the X1C to a fully automated visual fiducial board compensation system in the H2D, and how we users can leverage it to achieve truly high-precision results with our 3D prints.
那些看不見的誤差,才是最關鍵的那 0.1mm
那些曾經讓我懷疑人生的 0.1mm 誤差
在 3D 列印這條路上「玩」得夠久的人都知道,「校正」這件事其實遠比想像中還重要。早年在玩 DIY 印表機時,什麼螺桿間隙、馬達公差、皮帶鬆緊、熱床不平、材料流量補償、吐料延遲…… 幾乎每一個細節都可能是坑。
那段時間,與其說是在玩 3D 列印,不如說是 3D 印表機在玩我才更貼切(笑)。
直到竹子推出 X1C,才真的讓我感覺:這是一台「會自己動腦」的機器。自動化平台調平、K 值校正、光學補償機制…… 這些功能幫我解決了至少 80% 的列印穩定與尺寸精度問題,讓我從每天對著游標卡尺抓狂的玩家,變成能專注設計與創作的使用者。

但在那剩下的 20% 裡,還有一道難以忽視的關卡,那就是 X-Y 偏差。
尤其是當列印模型需要精準對位、組裝卡合、甚至跨機互拼時,「尺寸就是不準」的困擾還是會浮現出來。
這篇文章,我想和大家深入聊聊竹子從 X1C 到 H2D,是如何從手動補償進化到如今的「視覺編碼板」全自動補償系統,並分享我們使用者如何活用這套機制,打造出真正高精度的 3D 列印成果。
Phrozen PLA 使用心得:一款「正在進步中的選擇」
前言
最近趁著連假有空檔,總算能從手邊一堆專案中偷點時間,完成了一些 H2D 測試心得分享,今天我就來改聊聊這段時間使用 Phrozen PLA 線材的一些實際體驗吧!
初見線材:繞線品質值得關注
一開始在選用這卷線材前,其實就有耳聞一些聲音,提到 Phrozen 的 PLA 線材有「容易打結」的狀況。帶著這樣的印象,我特別想觀察:這個問題是不是真的會發生?又是怎麼產生的呢?
Bambulab H2D 藍光雷射版本購買建議
Bambulab H2D 雷射功能初體驗
前言
免責聲明
因平日工作繁忙,回家還要兼職奶爸
本次僅抽空進行簡單的雷雕測試。本人對 Bambu Suite 的操作仍不算熟悉,如有設置或理解上的錯誤,還請多多包涵!
EMO 開關位置會影響雷射功能啟用
使用雷射功能前,務必將 EMO 緊急停止開關放置在官方預設位置。如果 EMO 未定位,機台會顯示錯誤,導致無法啟用雷射模式。
推測這是因為 EMO 卡榫或機台插座設有磁性霍爾開關來偵測。第一次使用需校準:使用原廠附贈的 350g 卡紙
機台會要求進行自動校準,使用隨附的兩張 350g 卡紙。
- 後續是否需定期重新校準目前仍未知。
- 若有需要可能得向官方購買耗材或另尋可替代材料。模組更換+校準流程幾乎全自動!
除了更換雷射頭、接上氣管與安裝底座之外,其他流程幾乎全自動完成。
相較於某 S 牌那種繁瑣設置流程,這點真的讓我大大讚賞。
你所不知道的 H2D:使用心得分享
前言
這篇文章整理了我在使用 H2D 過程中發現的一些實用小貼士,以滾動更新的方式記錄,歡迎追蹤我,一起交流更多使用經驗!
如果你喜歡我分享的內容,也歡迎到 MakerWorld 幫我的模型點個讚、下載、甚至給點助力!
https://makerworld.com/@Shuwn_Hsu
- H2D 有電壓版本之分,非寬電壓機種會依照地區區分為 110V 或 220V 版本,熱床也有對應版本。
- 220V 熱床:加熱速度較快、但相對耗電
- 110V 熱床:速度較慢、但耗電也低一些
光固化透明樹脂為什麼需要隔水固化?
如何解決 Chitubox Pro 2.0 登入問題?
How to Fix Chitubox Pro 2.0 Login Issues?
前言
Recently, the popular slicing software Chitubox released its Pro 2.0 version, packed with new features and performance upgrades. However, some users have encountered a frustrating issue: Login failed with the error message “Network error, login failed.” What’s causing this, and how can you fix it? Let’s dive in and sort it out quickly.